Create an Asset Pre-Use Inspection
Build the first connected form template and launch it safely from an asset QR code.
Watch first
Captioned walkthrough using the real TASC screen
Do the task
Follow these steps in order
Open Form Templates
Choose the Assets module and create a clearly named template for the inspection purpose.
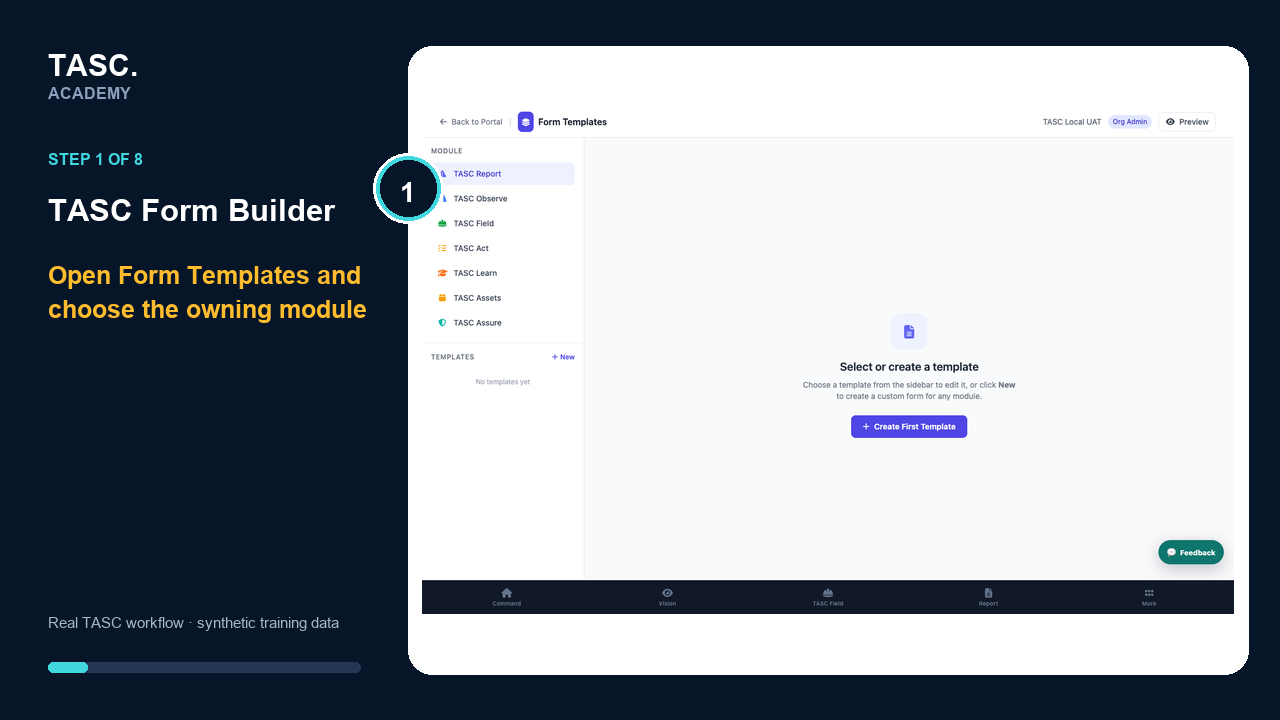 Step 1: Open Form Templates
Build the core fields
Add inspection date, asset link, condition checks, comments and evidence fields.
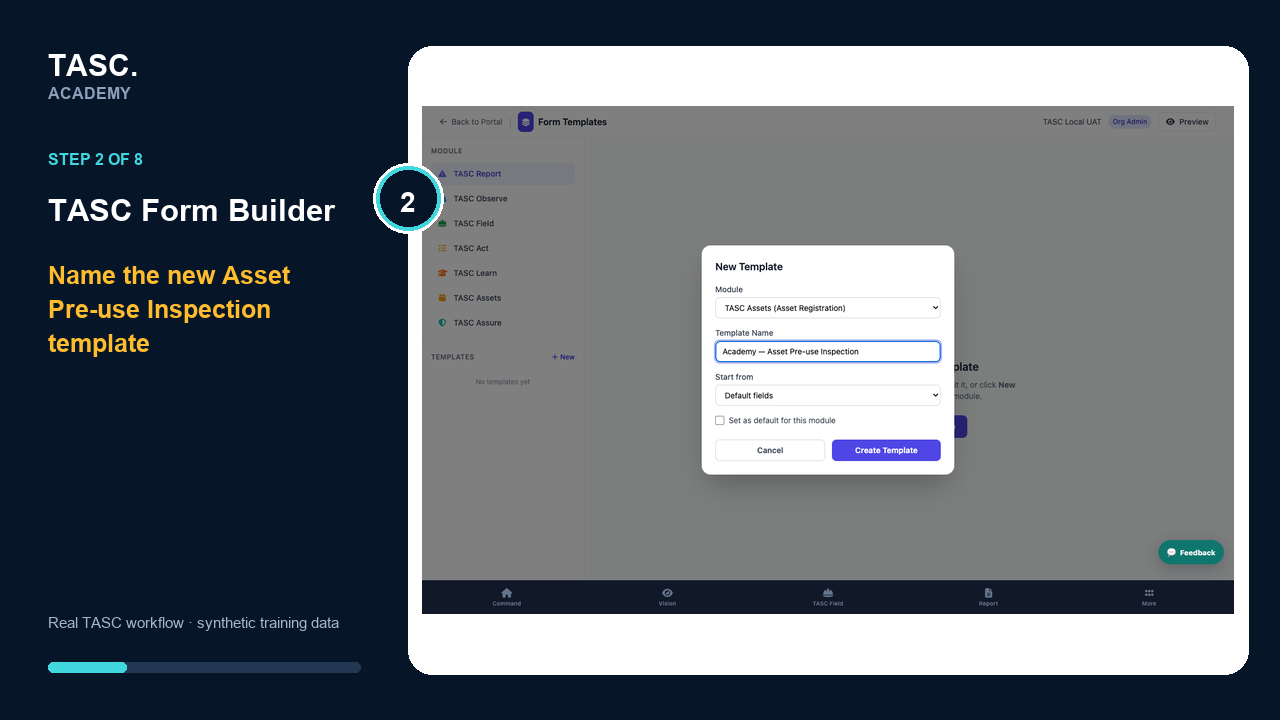 Step 2: Build the core fields
Set requirements deliberately
Make only necessary fields mandatory and explain why evidence is required.
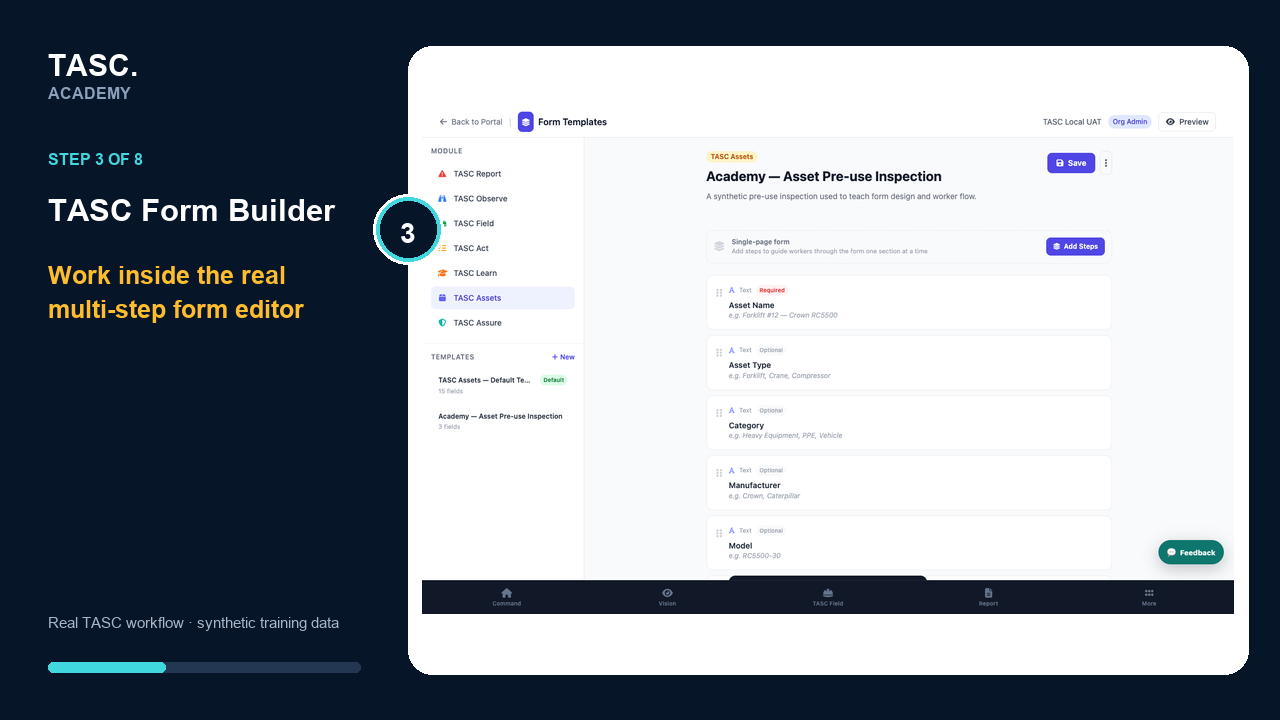 Step 3: Set requirements deliberately
Add conditional follow-up
Use conditional logic so a failed check requests the right evidence or follow-up information.
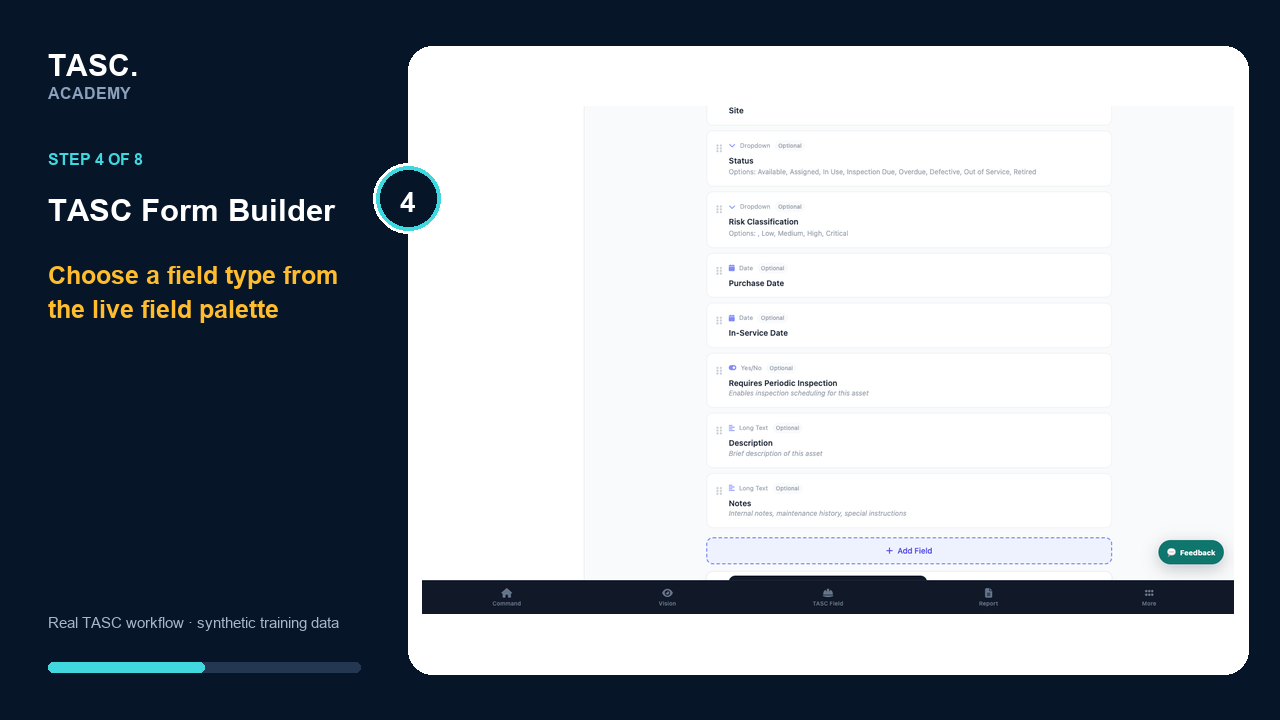 Step 4: Add conditional follow-up
Link the template
Connect the form to the appropriate asset inspection profile.
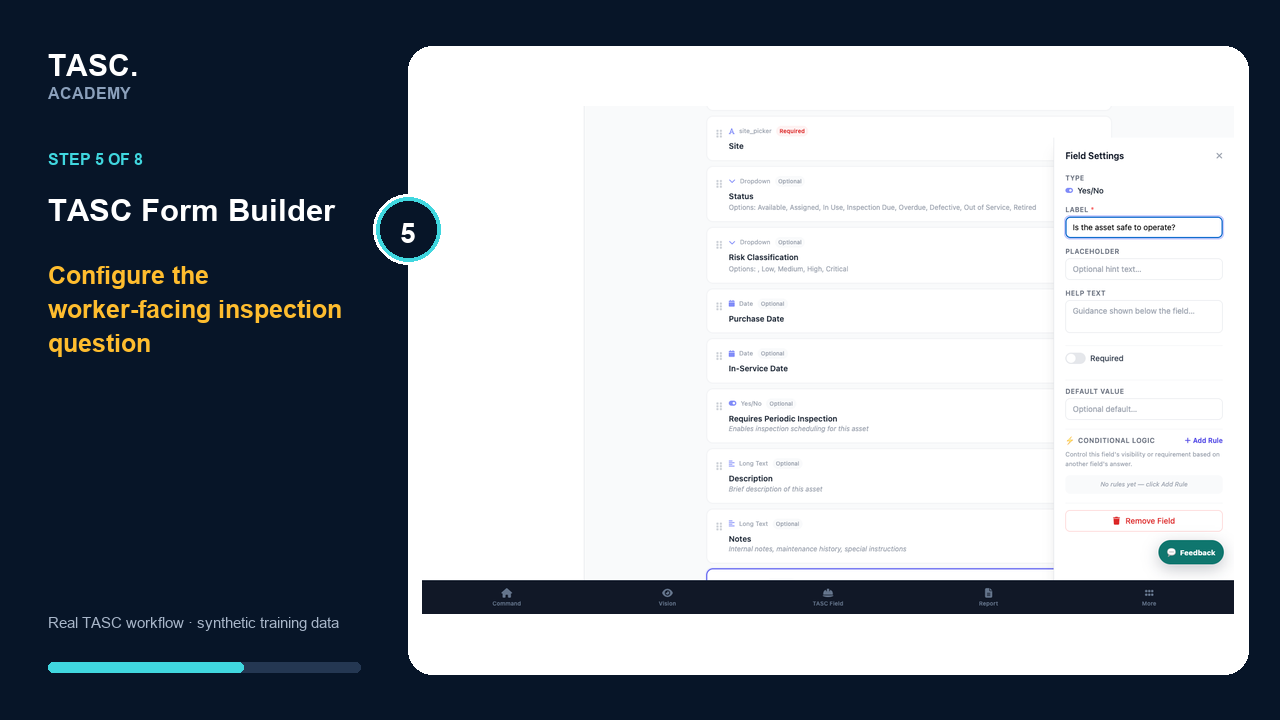 Step 5: Link the template
Complete the deployed worker form
Sign in through Safety Passport, scan the asset QR, answer the live inspection fields and record the condition or defect.
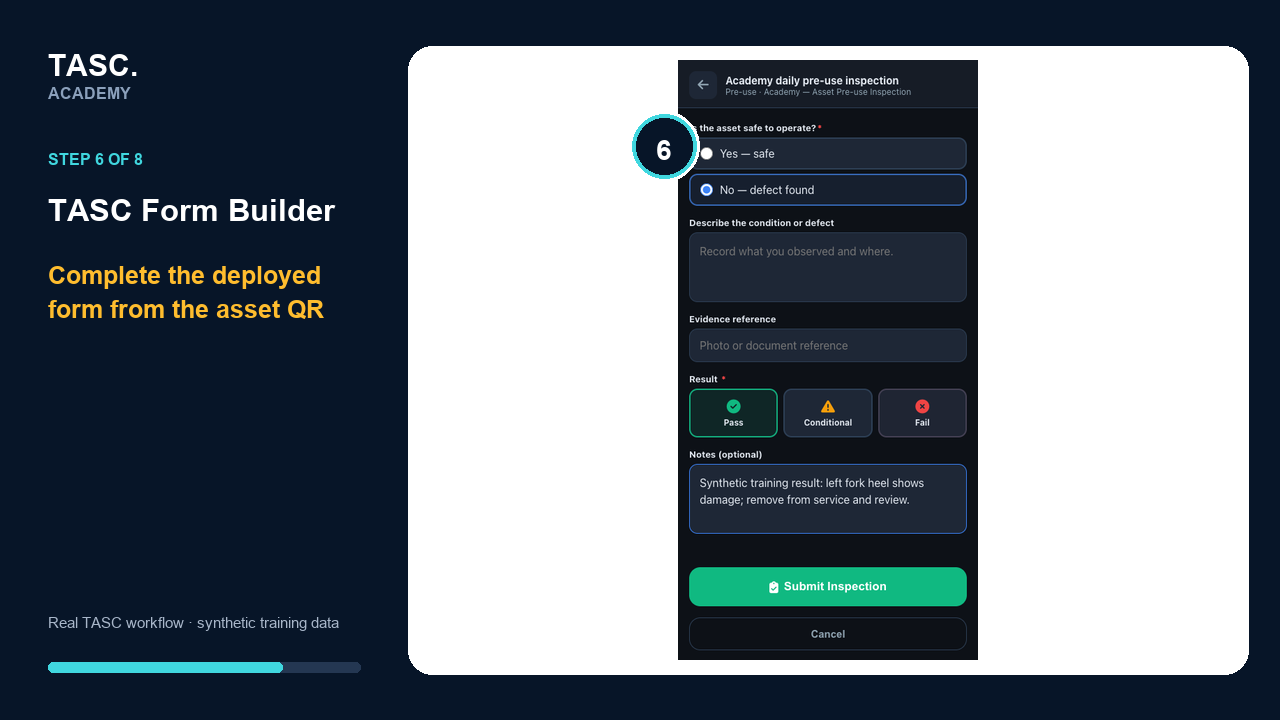 Step 6: Complete the deployed worker form
Confirm the submission
Submit the inspection and confirm TASC records the result against the correct asset and inspection profile.
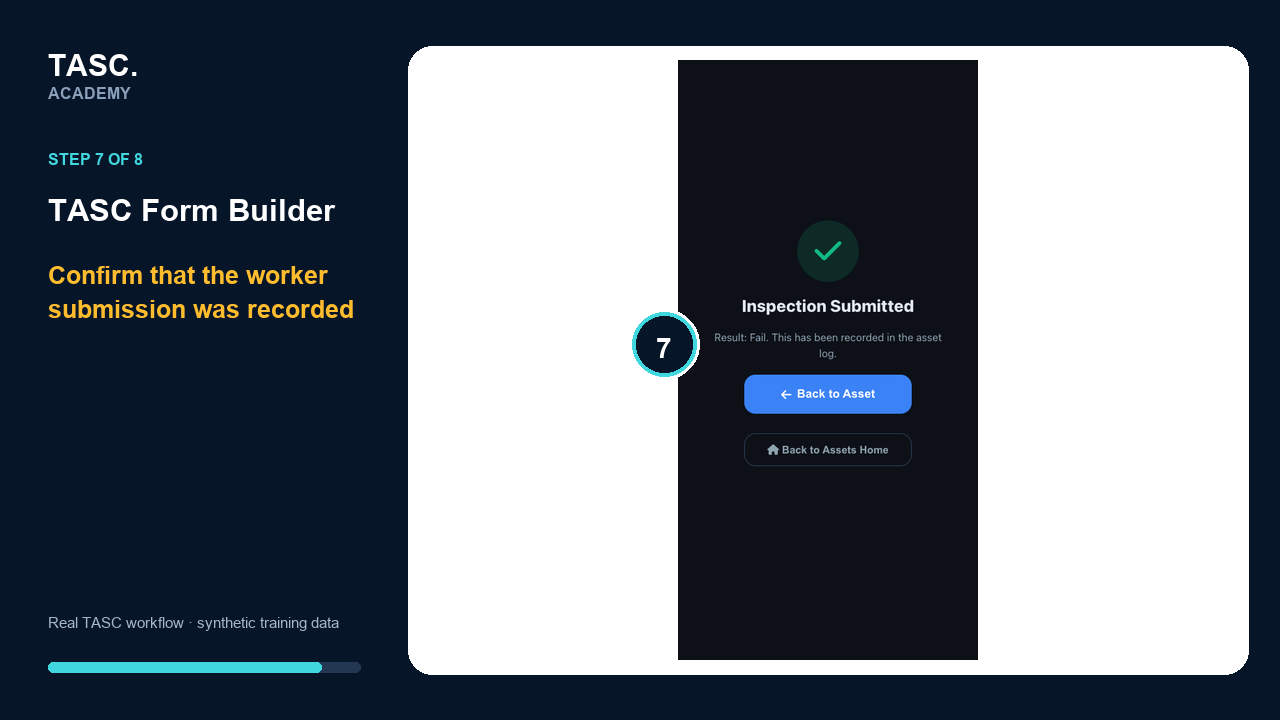 Step 7: Confirm the submission
Review and control later changes
Review the result in employer inspection history, then retest live templates after changes to fields, requirements, permissions or outcomes.
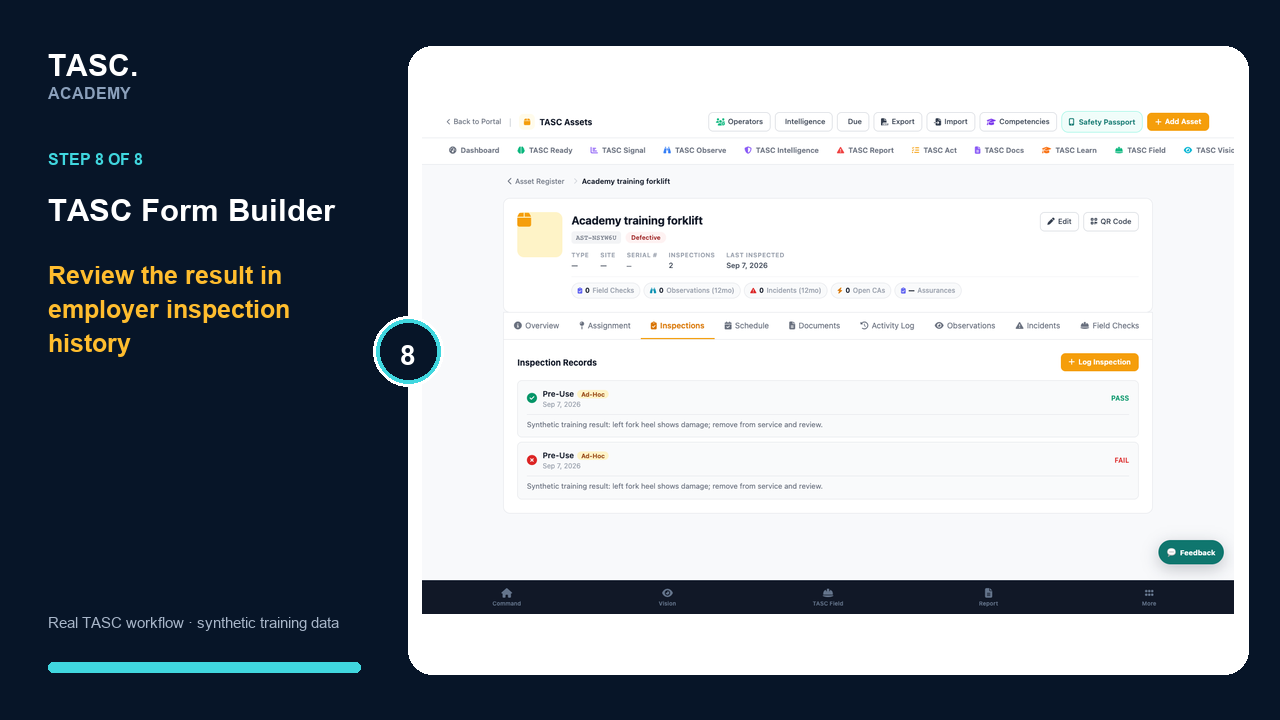 Step 8: Review and control later changes
Check that it worked
- The template appears for the correct asset/profile
- A pass can be completed efficiently on mobile
- A failure requests the intended evidence
- The resulting record and follow-up reach the authorized reviewer
If something goes wrong
The form does not appear after scanning.
Confirm the template module, active status, asset inspection profile and QR scope.
A failed check creates no usable follow-up.
Review conditional logic, evidence requirements and the configured action or reviewer path.
Before you begin and supporting details
Before you begin
- A test asset and inspection profile
- The approved inspection questions
- A named reviewer for failed conditions
- Synthetic success and failure test cases